Easily Transition From Indoor to Outdoor Cycling: 7 Amazing Tips For Female Cyclists
As a girl who LOVES to ride her bike, there is nothing as exciting as those first glimpses of spring. Yes! There are flowers! Yes! It is warm!!!
YES! I CAN RIDE MY BIKE OUTSIDE AGAIN!!!
I regularly call myself the “Goldilocks of Cycling Temperatures” because I absolutely refuse to ride outside when it’s cold. Part of this is because I don’t have the gear and it’s expensive, part of it is because I have Raynaud’s and my extremities lose circulation, and part of it is because I just don’t want to.
All winter my six-year-old has been asking when it is going to be above 50 degrees Fahrenheit, because I have told him that I will absolutely not entertain riding outdoors until it is!
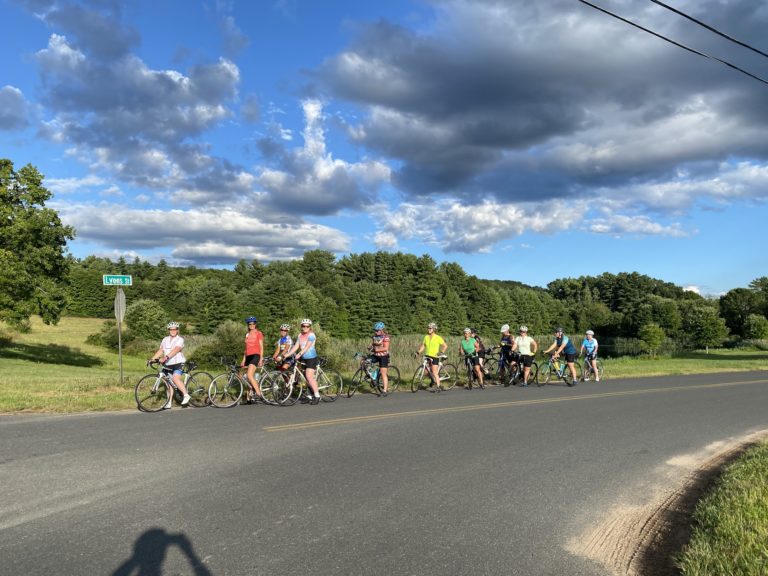
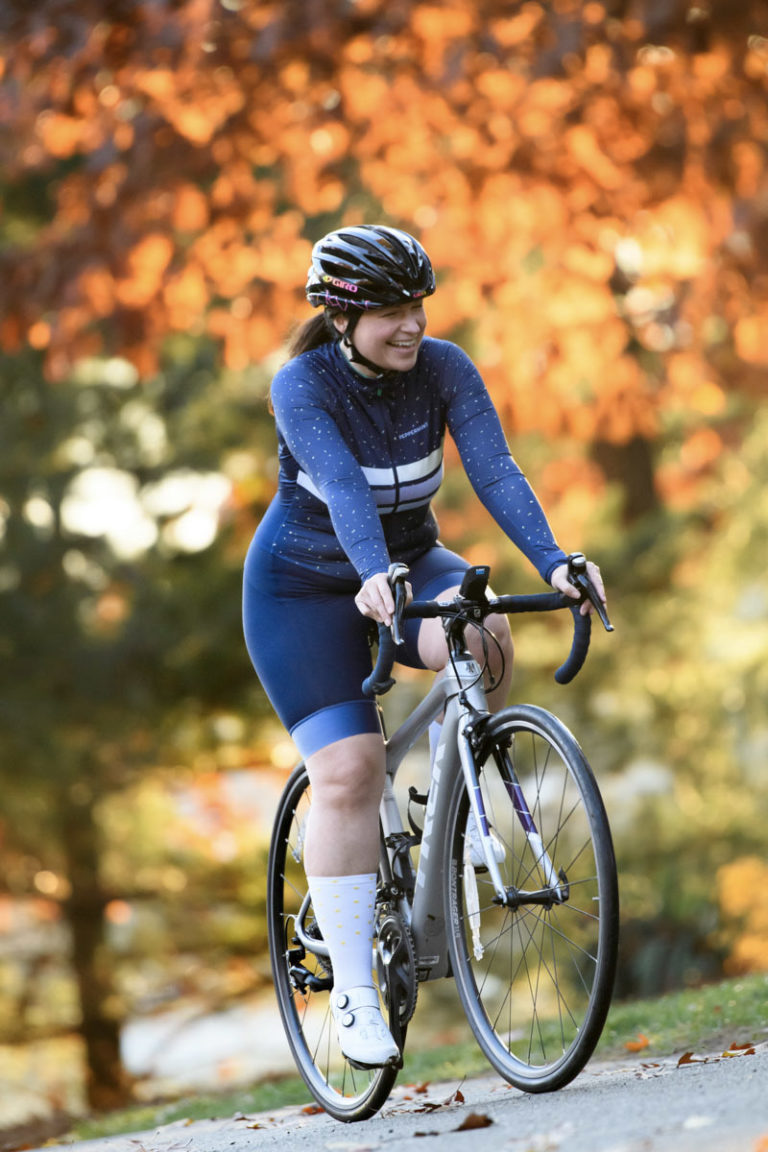
Now that Spring is officially here, I am starting to venture outdoors on the bike again and it feels AMAZING. There are, however, a few things to consider when you are taking your ride outside, especially if you have been riding primarily indoors on the trainer all winter long.
In this article I will share some tips that really help me adjust to riding on the road, in the open air, after a long stint indoors on the trainer.
Tip #1: Check Out Your Bike (Or Bring it to your Bike Shop) Before You Put it On the Road
Just like those trainer miles can be hard on you, they can be hard on your bike as well! Before you take that first ride on the road, make sure that your bike is as ready as you are.
Check your tire pressure, lube up your chain, check your back tire if you use a wheel-on trainer without a trainer tire (like this one), etc.
The last thing you want is to be stuck on the side of the road 5 miles into your first ride of the season. You want to ENJOY that ride! It’s best to make sure that your bike is just as ready to go as you are.
It doesn’t hurt to bring your bike by your local shop for them to check it out as well. You may need a new chain, etc. from all of those winter trainer miles you put on your bike!
Tip #2: Make Sure You Have ALL Your Stuff!
And I mean ALLLLL your stuff.
It’s no secret that riding indoors involves a whole lot less prep than riding outdoors. Your trainer is all set up, you just need to put on our workout clothes, grab some water, select a workout on Zwift or a Peloton ride, and get to it! Easy peasy!
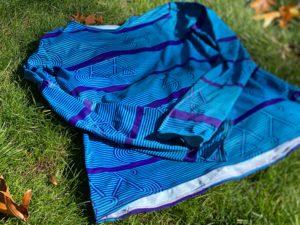
Outdoor riding requires a lot more gear, and a lot more prep...especially if you are loading your bike onto your car and driving somewhere. There is nothing worse than getting down the road and realizing you have forgotten something vital like your helmet or your cycling shoes.
If at all possible, getting all of the things you need together before you head out on the bike will help you prevent the inevitable disappointment you will feel when you forget something you really need!
As a person who forgets vital cycling items all the time, I actually put together this handy, printable checklist for road cyclists here. If you keep this checklist with you and follow it, you will never forget your water bottles again!
Tip #2: Baby It’s Cold Outside! Make sure to dress WARM
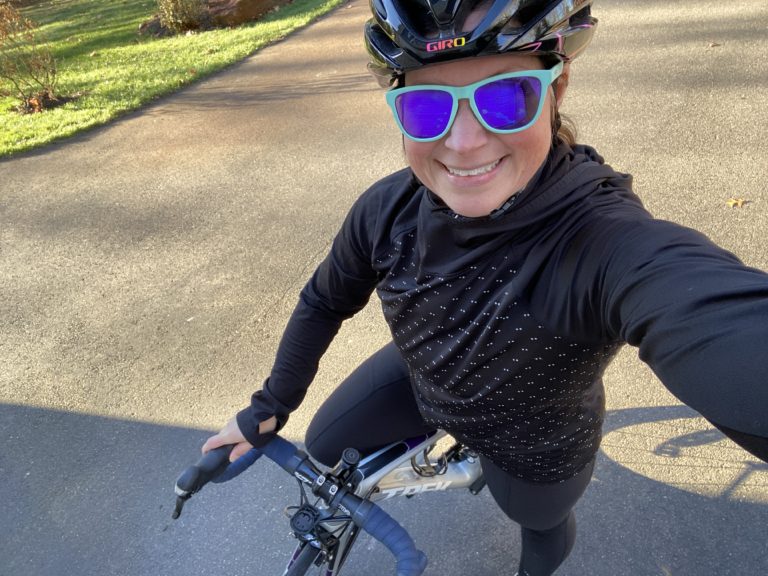
It is a general rule of thumb that you want to overdress a little for your first ride or two out as the weather gets warmer. If you are anything like me you are out there before it is really all THAT warm.
If you wait until it’s 80 degrees you can completely ignore this tip, but most of us will start our spring rides right around the 50 degree mark. 50 degrees when you are on a bike and going down a hill at 30+ MPH is freaking COLD, my friends!
You want to be prepared for this. A long sleeve jersey or tights are great. Alternatively you can wear these nice thermal arm warmers or leg warmers from Pearl Izumi. They are removable, so you can even stop, take them off, roll them up, and shove them in your pockets if you start to get too warm!
You also may want to consider a lightweight jacket or windbreaker like this one from Gore Wear.
It’s especially great because it rolls up REALLY small and fits in your back pocket if you start warming up and don’t need it.
Dressing a little warmer is always a good plan. I feel that even though you may be a little warm after you get moving, it’s less likely to cause you to cut your ride short than if you are too cold!
Tip #2: Oh my goodness the WIND!!! Be prepared for those headwinds!!!
I have yet to meet a cyclist that says “I just LOVE riding into a good headwind!” We tend to HATE the headwind, and it is one of those things that we don’t have to worry about when we are indoors on the trainer!
As soon as you take that ride outdoors you will once again have to consider headwinds which almost ALWAYS seem to accompany those early spring rides, at least for me. Not only are they cold, but they of course also provide extra resistance that can be challenging to spin through.
A windbreaker of course like the Gore Wear one mentioned above can help with the chill, but you want to make sure you also mentally prepare for the potential increase in power output that you will need in your outdoor rides.
Tip #3: Remember to handle that bike! Yes this is a thing again!
I know what you’re thinking. “Stacy, um…of course I have to balance on my bike now.”
Please! Hear me out. Last fall I took my bike off the trainer (not my favorite activity, mind you) to get in one last ride on a particularly warm day.
I had been riding indoors for some time at this point, and had gotten out of the habit of having to think about pesky little things like keeping my bike on the road, and clipping in and out.
I think you know where I am going with this, right? I was halfway through my ride, I was feeling amazing and stopped to take a photo of a sign.
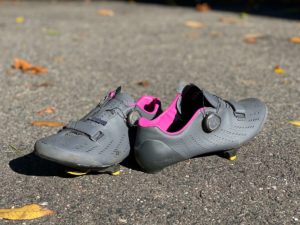
I slowed, came to a stop, and promptly FELL RIGHT OVER. I absolutely, 100% forgot that I was clipped in. I mean, it was hilarious to watch I am sure, and was likely caught on someone’s doorbell camera.
Maybe they will submit it to AFV (American’s Funniest Home Videos)??? I could be FAMOUS!
Anyway, What I am getting at here is that you just want to be mindful of all of the rules that apply while riding your bike on the road once again. Be sure to use hand signals, consider your balance, make a point to remember to clip in and out.
After a couple of rides this will absolutely be old hat again, but it can take a little bit of time for that muscle memory to kick in, so be sure to use your head and help your body out.
Tip #4: Riding With Others?? Don’t be THAT girl.
I really like to ride alone for the first ride or two in the spring just to check in with myself and see where I’m at. I may have increased my fitness over the winter, or perhaps it has decreased. Sometimes I have lost some weight over the winter or gained some, and that can impact my performance/speed.
One of the things I have discovered through the pandemic is that I do truly love riding on my own, experiencing the world at my own pace, and checking in with my body.
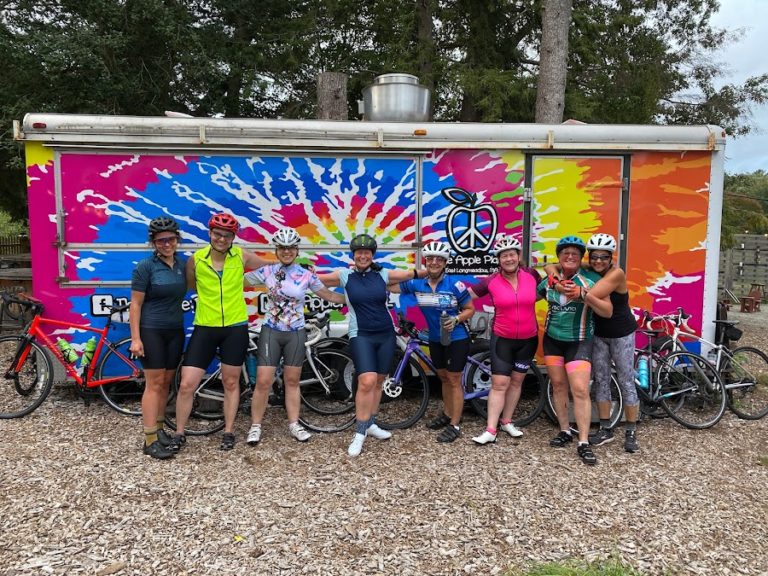
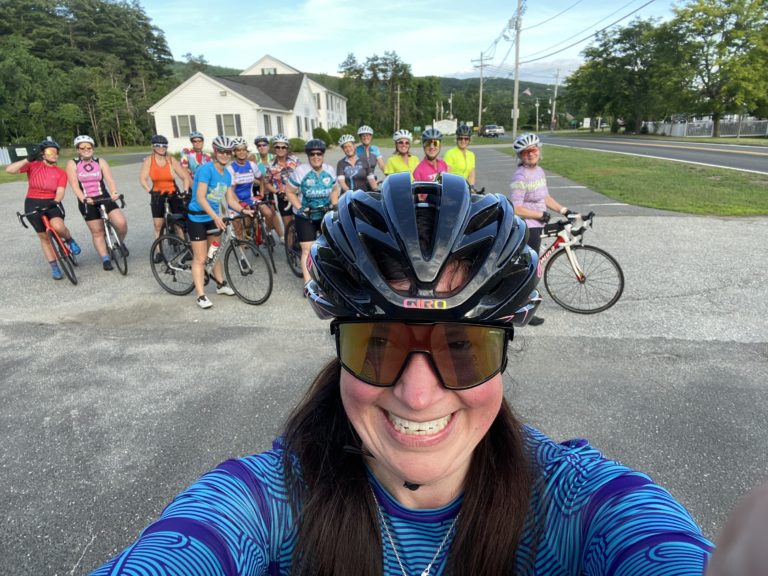
Inevitably, though, I am going to be itching to ride with friends again, and I want them to actually stay friends, so I try to be mindful of where they are at with their cycling fitness too.
You don’t want to be THAT girl who goes out in the group, blows up the group because she is SO strong, and leaves all of her friends in the dust.
Unless you’re with a few friends and you are all totally cool with that! Then by all means! Go for it!
A lot of times though, when riding in a group, you want to be mindful of the average speed of the group, and in early spring rides be willing to be a little more flexible with riders who haven’t been riding as much as you all winter and need a bit of a warm up period.
Additionally, if you are riding with others make sure you remember to call things out! Between the pandemic and the winter, a lot of us have been riding alone for a while. The last thing you want is for the rider behind you to get a flat because you forgot to yell out that there was a hole.
Taking a few moments to remember that you have people behind you who can’t see what you see can prevent an incident that holds up the group or leads to someone getting hurt.
Tip #6: Know that the hills may very well SUCK
It never ceases to amaze me just how much hills can feel like much bigger hills than you remembered when you are embarking upon those first spring rides. No matter how terrible climbing can be indoors (I hear you, it can be quite terrible!), there is just nothing quite like those outdoor hills.
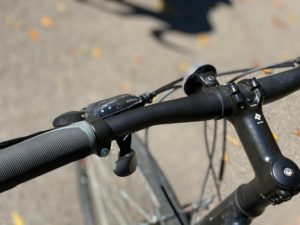
It can be one you’re aware of, or a hill that is new to you, but you may just end up feeling it a little bit more during these early spring rides. Also, going back to bike handling, you might need to re-acclimate yourself to shifting your bike and just how you like to go up hills again.
Yesterday I was out riding with our six-year-old around the neighborhood and those hills are brutal. I had to think about shifting again, about getting some speed going into a hill and making sure I didn’t wear my legs out by not shifting to an easier gear at the right time.
This was extra necessary because he wanted to ride a LOT longer and harder than usual which I was not at ALL prepared for. Usually we only ride for 45 min to an hour, but yesterday he was DRIVEN! He wanted to keep going, I wanted to keep up, and I was struggling due to not being fueled properly…which brings me to Tip #7!
Tip #7: Make Sure to Fuel Properly for Your Longer Outdoor Rides
We have all been there. We have had a ride where we have bonked completely, or even just one where we were not feeling our strongest, and all because we did not fuel properly for the ride.
This isn’t as big of a deal in the winter on the trainer because you can just get off and go get your snacks!
But when you are miles from home this can be a much bigger problem. Make sure that you have eaten to fuel your ride.

All I had for lunch yesterday before our ride was a veggie burger and a salad. Again, I was planning for a short ride!
There were no carbs to speak of, and ladies, we NEED carbs for longer/harder efforts! After an hour and forty-five minutes I was struggling. I had a headache, and I was just exhausted.
It was a first-hand reminder of how important it is to fuel before our rides. My son had been eating all morning and had carbs with his lunch, so he was more than good to go! I, on the other hand, was clearly NOT.
Unsure of what to eat before your cycling efforts? Check out this amazing article on how to fuel for your rides!
Well there you have it, my 7 awesome tips for taking that indoor ride of yours OUTDOORS! Follow these suggestions, and your winter to spring riding transition will go a LOT more smoothly.
What do you do to make sure that you have success transitioning from winter to spring cycling? Leave a comment below and let us know! Or, you can always email me at stacy@sascy.com. I would absolutely love to hear from you!

